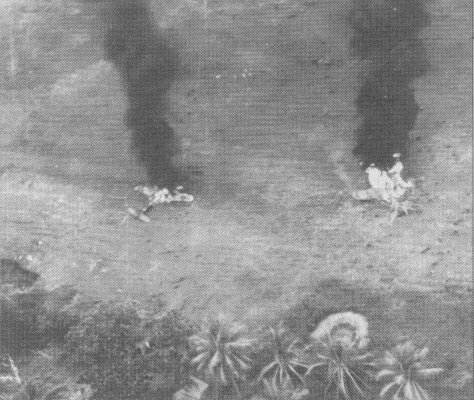
“CENTER: By day, Kenney’s strafers effectively halted coastal traffic around New Guinea. A B-25 circles over a shattered
boat after a devastating attack. By night, American PT torpedo boats patrolled coastlines, sinking barges and tugs.
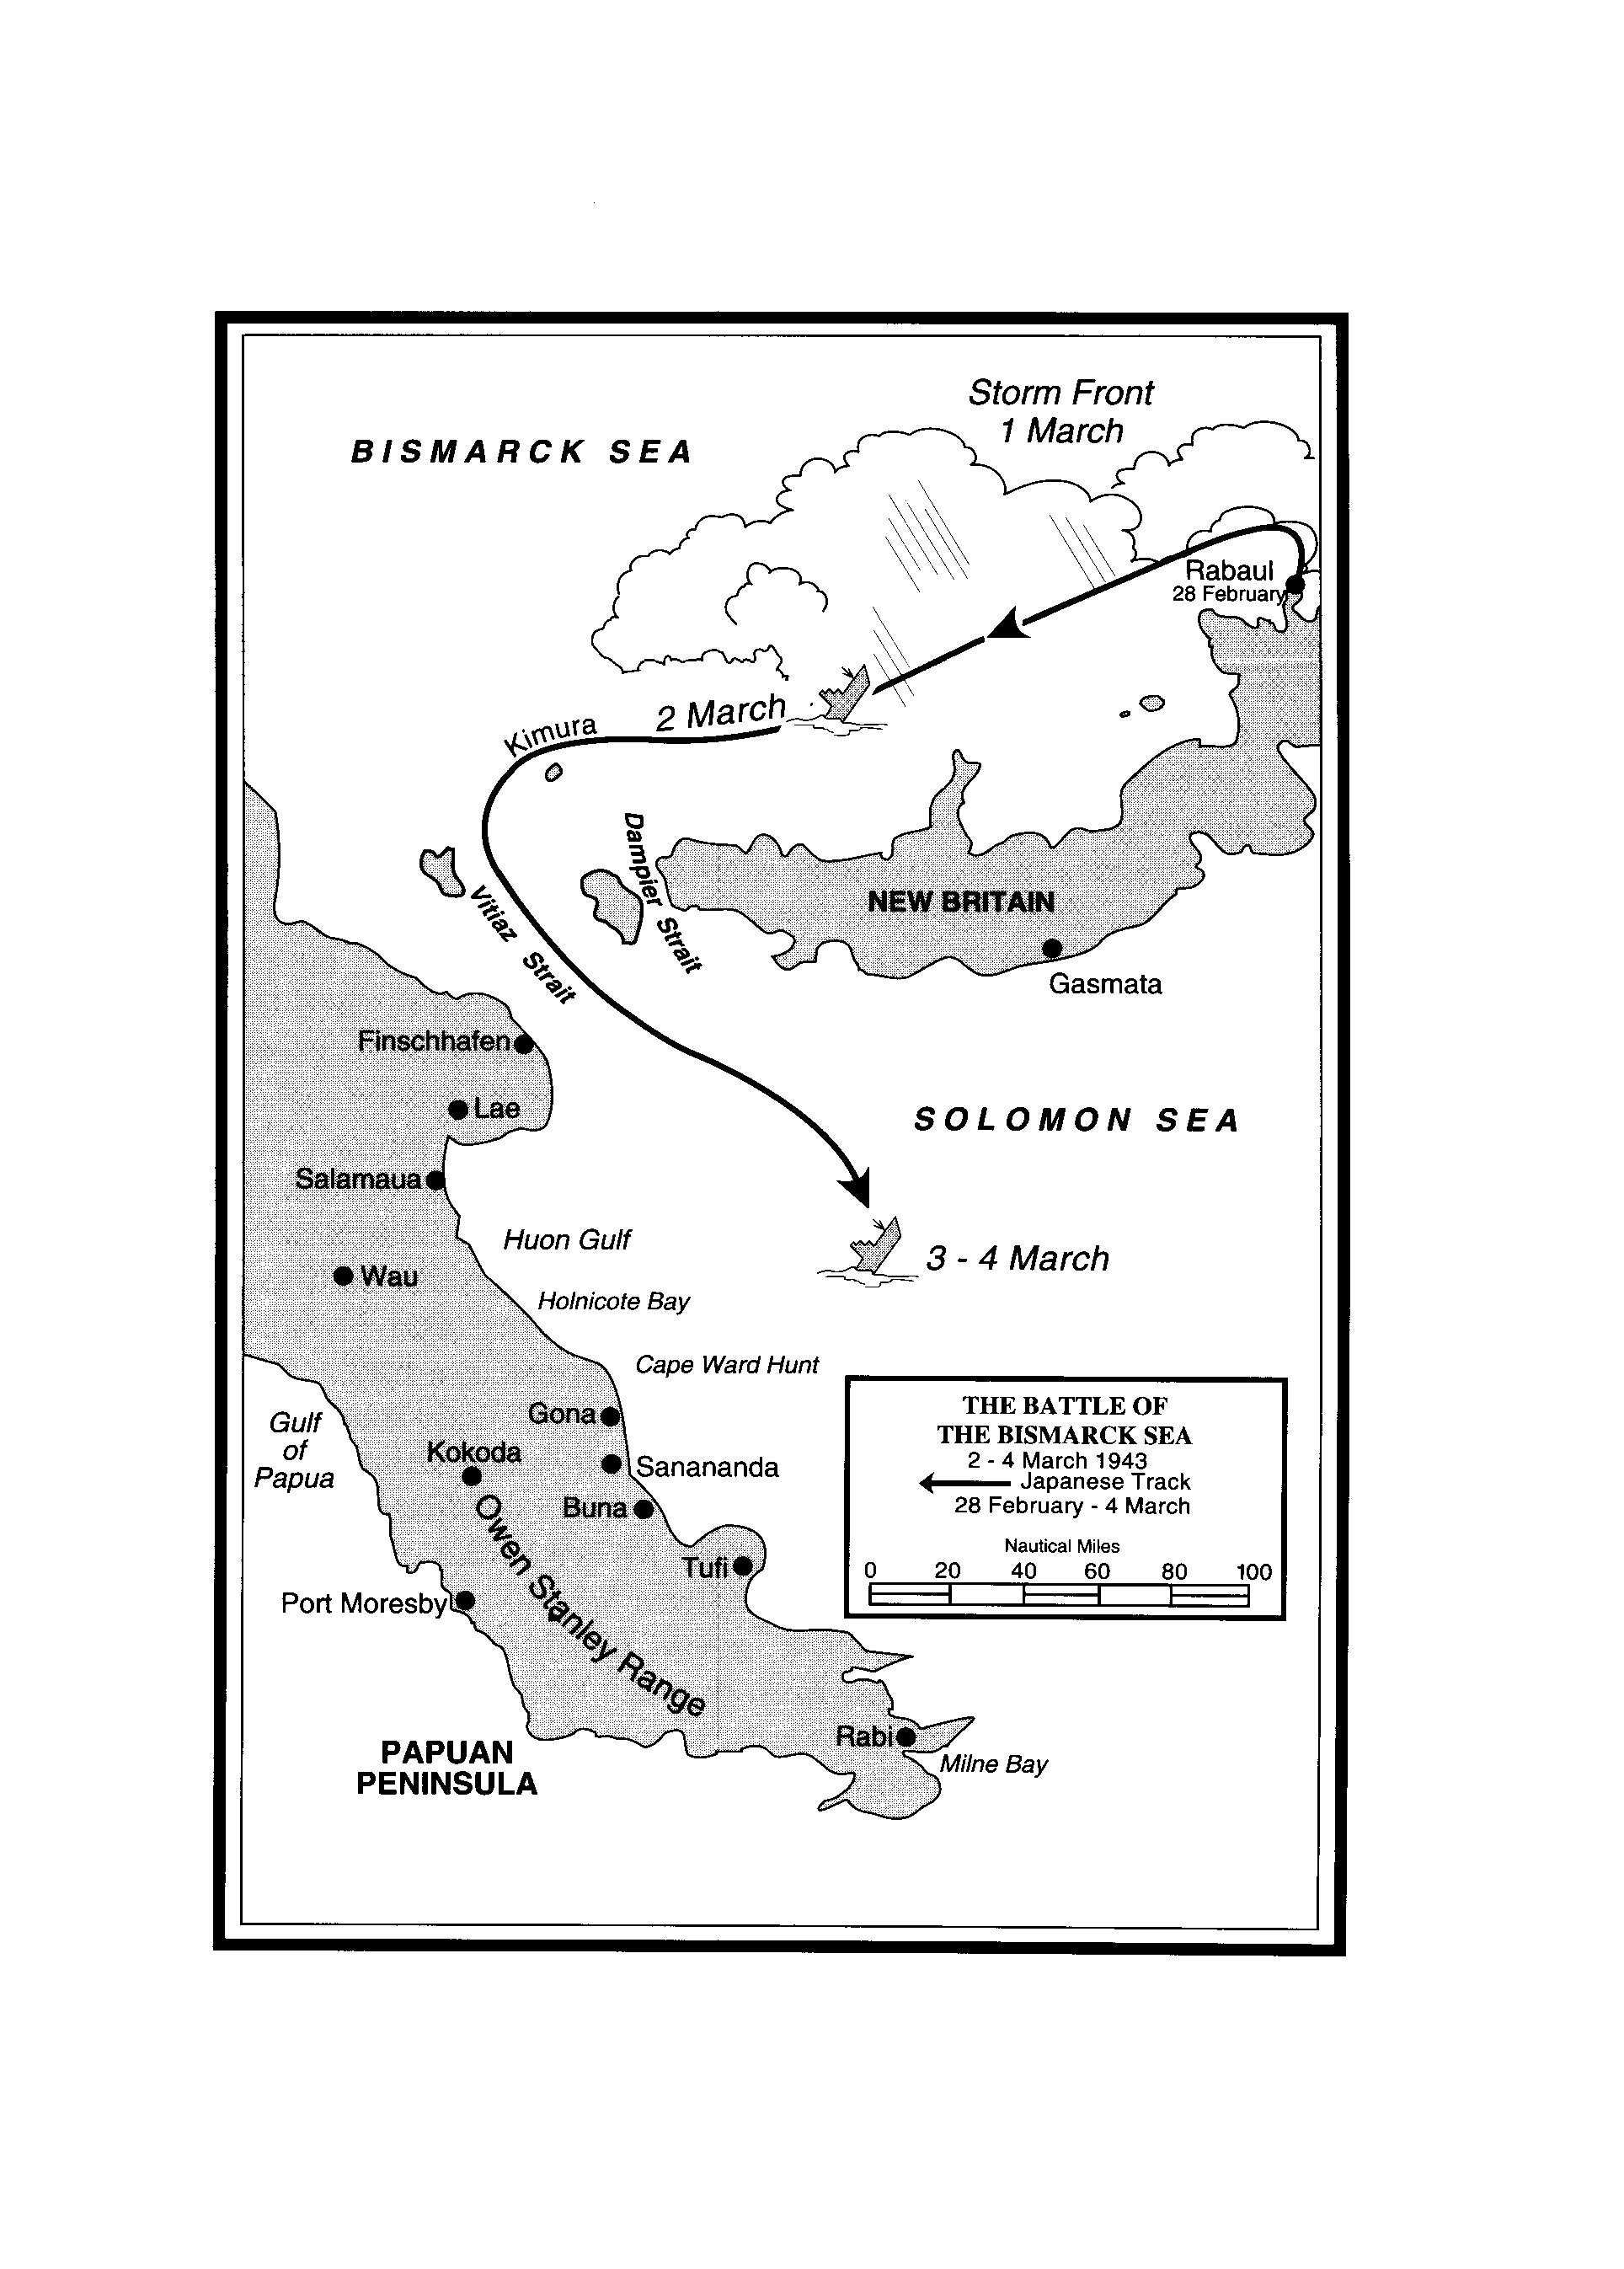
The Battle of the Bismarck Sea
“Late on February 28, a convoy of sixteen ships-eight escorting destroyers and eight transports-left Rabaul for Lae. Shielded by Japanese Army and Navy fighters, it was hardly a "sitting duck." Its destroyers were armed with light cannon and heavy machineguns, and its merchant seamen and Imperial Navy sailors, all veterans of supply runs to Guadalcanal, had become seasoned defenders against aerial
attack. The Japanese had wisely divided both cargo and fighting units among the different ships to achieve a relatively balanced force landing should losses occur. In addition, they planned preventive aerial strikes on the Allies at Port Moresby, Milne Bay, Buna, and Wau. (These did not materialize; in fact, the RAAF made preventive strikes on Lae and the Japanese airfield there.) Convoy commander, Rear Adm. Masatomi Kimura, was confident that his ships would reach Lae as he considered the strength of his air cover and naval escort, the experience of his crews, and the weather. What he had underestimated, however, was the ferocity and intensity of Allied resistance.”
Japanese Convoy Structure: Battle of the Bismarck Sea
Commander of Convoy and Escort Forces: Rear Adm. Masatomi Kimura
Commander of Transport Vessels: Capt. Kametaro Matsumoto
Destroyer Escort Force: Arashio (sunk)," Asashio (sunk)," Shirayuki (sunk)," Tokitsukaze (sunk)," Asagumo, Shikinami, Uranami, Yukikaze
Transport Force: Aiyo Maru (2,746 tons, sunk), Kembu Maru (953 tons, sunk), Kyokusei Maru (5,493 tons, sunk), Oigawa Maru (6,493 tons, sunk), Shinai Maru (3,793 tons, sunk), Taimei Maru ((2,882 tons, sunk), Teiyo Maru (6,869 tons, sunk) ,Nojima (4,500 tons, sunk)
Map of battle
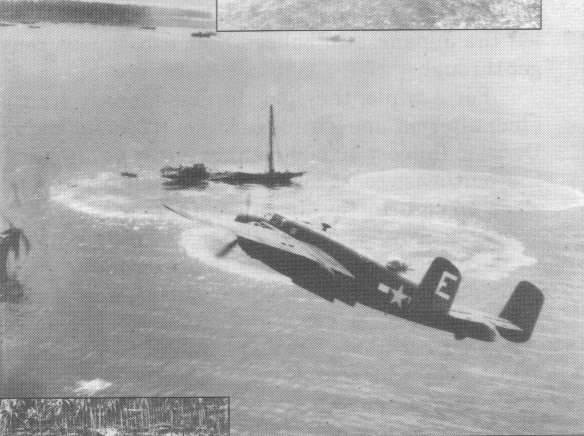
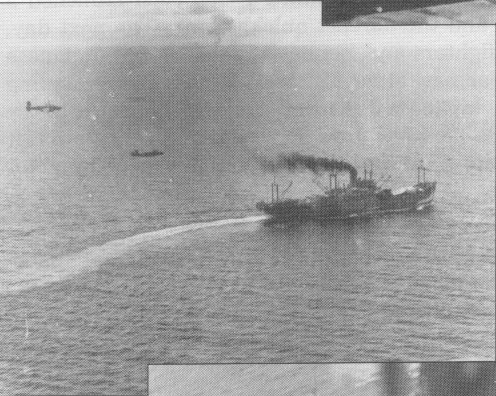
Two B-25s circle a desperately maneuvering and doomed Japanese ship.
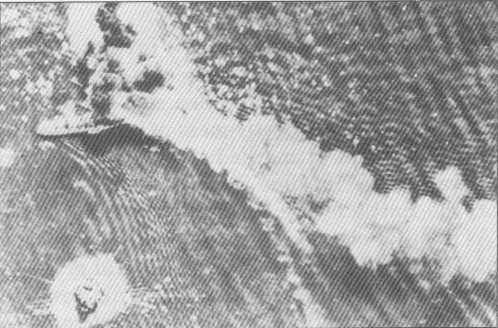
Badly hit, burning, and exploding, a Japanese freighter slews out of control despite desperate maneuvering as it slows to a halt.
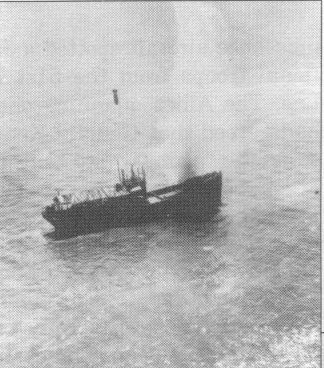
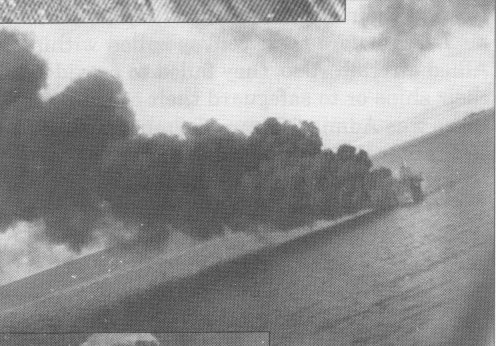
Aftermath of an aerial attack. A Japanese freighter burns before sinking off the New Guinea coast.
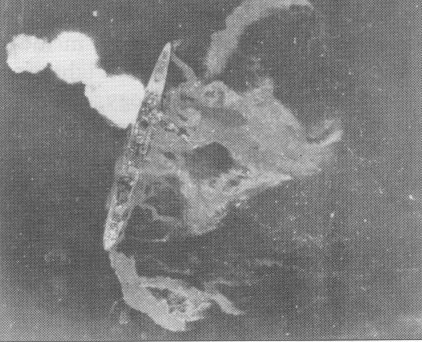
Aftermath of an aerial attack. A seriously damaged Japanese destroyer stops dead in the water, streaming oil from its ruptured fuel tanks, before sinking.
“ As in other successful battles, victory depended on a number of factors. The Japanese made several grave errors. First, they seriously underestimated Allied air strength. Despite their original intent, they failed to neutralize Allied air bases before their convoy sailed within striking range of Allied aircraft. Also, they failed to provide sufficient cover for their ships or to safeguard their coded message traffic.”
.
Main Index
Japan main page
Japanese-American Internment Camps index page
Japan and World War II index page